Thursday, February 27, 2014

Canadian Cookies in Australia


Watching the Olympics in Australia proved to be quite difficult. For one, there is a bigger focus on Australian competitors (obviously), which made it tricky watch Canadian competitors. Secondly, all the events I wanted to watch were at crazy times during the night or super early in the morning. 

One thing I knew I didn't want to miss was the final Men's Hockey games, as I always watch those at home! So, there I was, at 4am Saturday morning, bundled up on the couch watching the Canada vs USA semi-final. I cheered them on and for a split second, I felt like I was back at home again. 

The game ended sometime after 6am and I decided it was in my best interest to go back to bed for just a few more hours of sleep. However, once I laid my head on my pillow, my mind started wandering (as it often does) and I was thinking of things I could make for the final game on Sunday night. Once my mind was set on cookies, I couldn't get the thought out of my head. Needless to say, I was down at the Woolies by their 7am opening time to get the supplies I needed. 


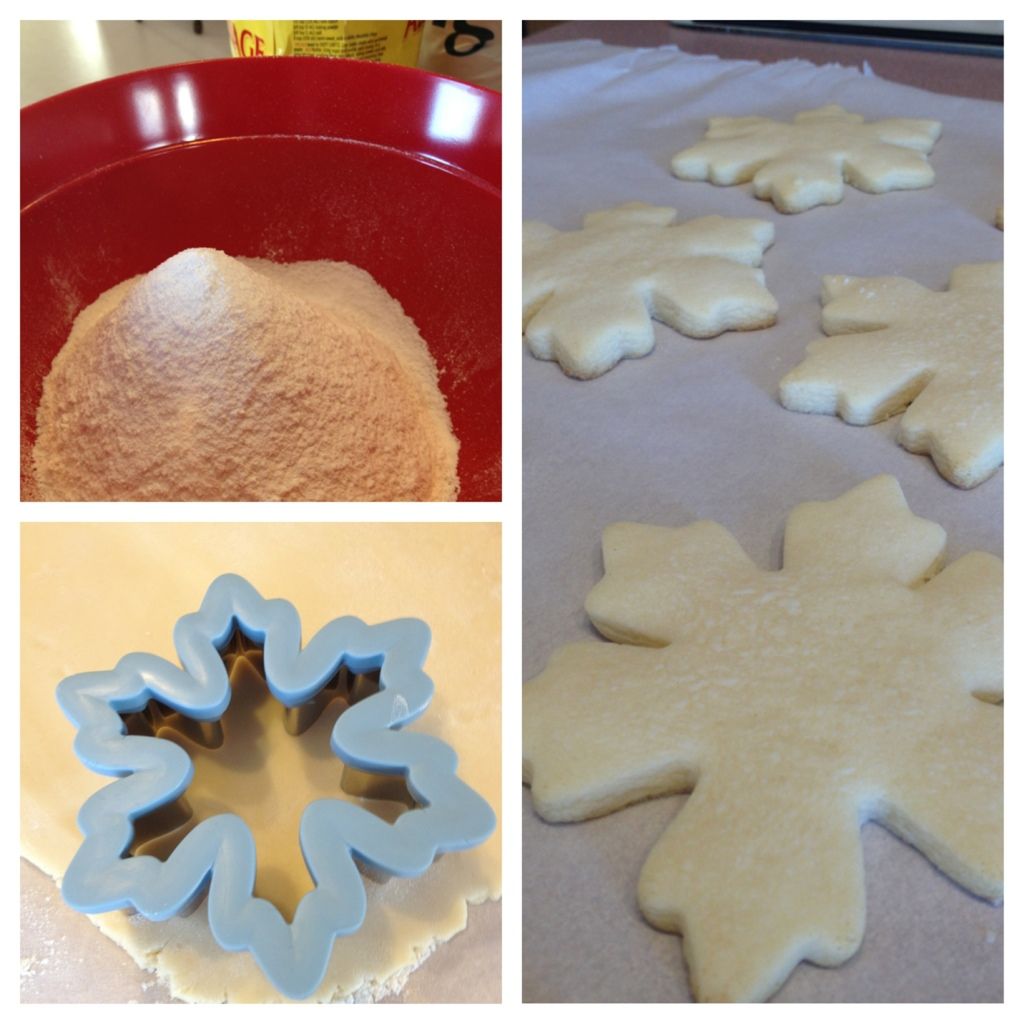
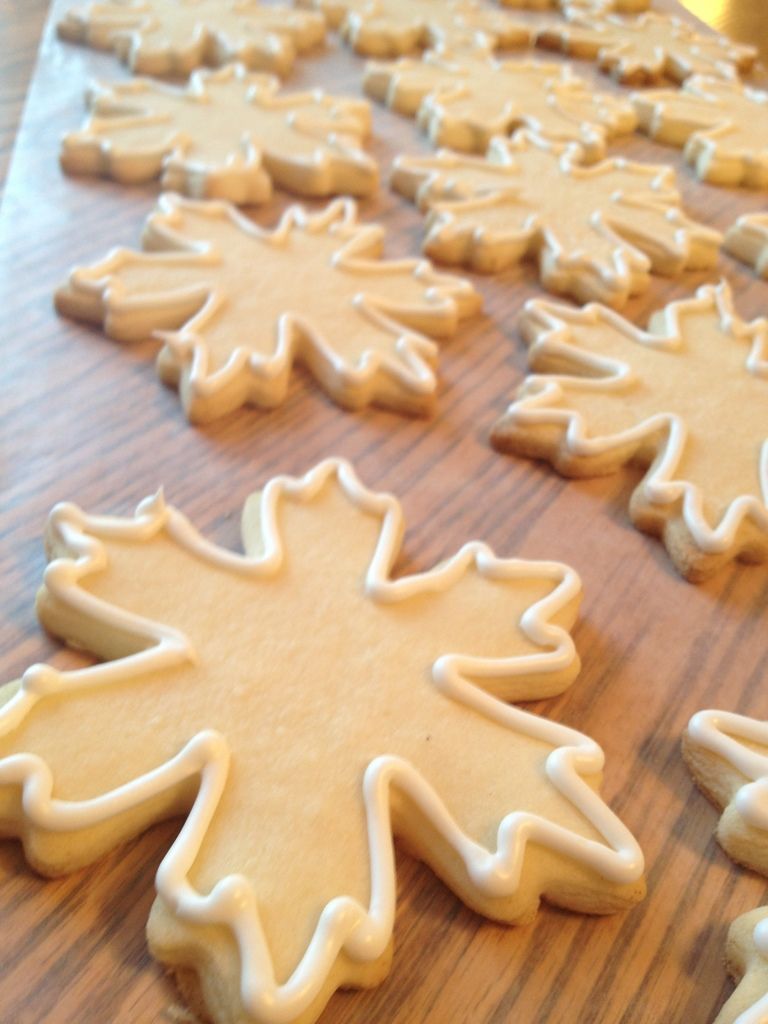
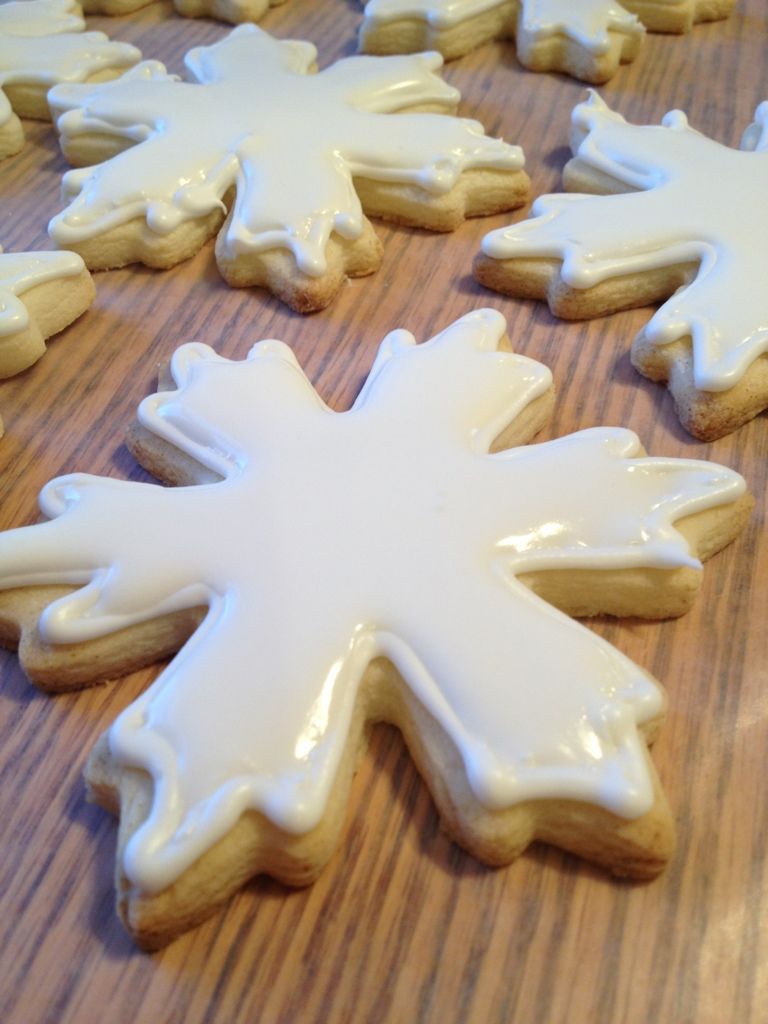
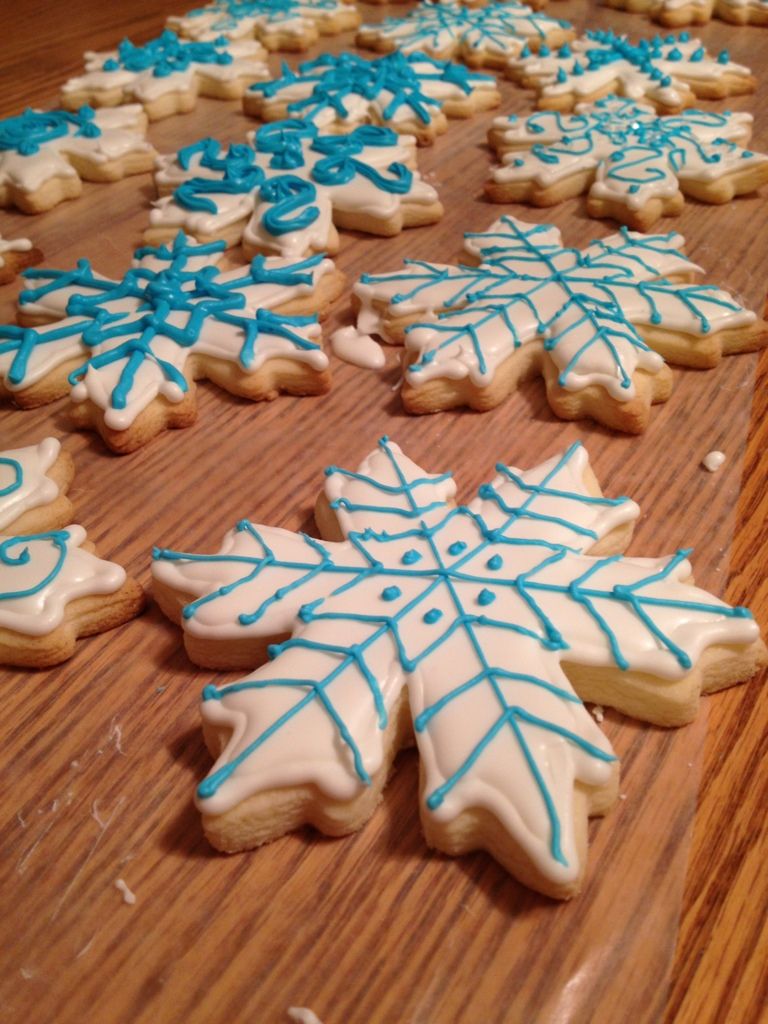
Getting the maple leaf on the cookie was harder than I thought. Of course, in Australia, I am without all my fancy tools, so I had to make do with what I had. For the shape of the cookie, I used a wine glass for the round one and a knife for the others. I thought I could get the maple leaf on the cookies by cutting one out of cardboard to roll into the dough to make an indentation. Well, that didn't work as well as it did in my head, so I had to change up the plan. Instead, I used a toothpick to mark the points on the leaf, then played connect the dots in the dough. Although this wasn't time efficient, it worked well! 

 We found a place, which may have been the only place in the city, to watch the game with audio. It was at the Sports Bar in the Crown Casino. Each wall was lined with about ten tv's, tv's in the tables and a large screen up front! I don't think I've ever seen so many tv's in one place! 

We went early to grab seats, and good thing we did! We saw some red trickle in and some blue and yello (Swedes) trickle in little by little. When the game began, we quickly realized that the Canadians in the bar were outnumbered by Swedes...by a lot! (Yes, I took cookies to the bar! Ha Ha)
The game was so awesome to watch in an environment that was a mixture of Canadians and Swedes. I think it made it a lot more intense, although I like to think it was a given we would win anyway right from the get go. 

When the time ran out at the end of the game, all the Canadians in the bar came together and sang "Oh Canada" in unison. It was awesome to be surrounded by fellow Canadians celebrating the same moment in Australia. 
Pin It

Thursday, January 23, 2014

The Tim Tamington Cake

Hello everyone! Currently I am in Australia and to be more specific I am in Byron Bay, New South Wales. I've now been living in Australia (Melbourne) for six months which puts me exactly half way through my year long stay. Since it's summertime and I've got the month off, I am travelling down the beautiful east coast of Australia. 

It's been a challenge living in Australia as the opportunities to bake are few and far between. I am without an oven in our tiny Melbourne apartment, however during the holidays I was able to produce some Christmas cookies with our little toaster oven. Now that we are travelling, I've had little time to even think about how much I miss baking and putting cakes together. Last week in Noosa, we needed something to make our friends birthday special - a cake! So, my friend Jenna and I came up with an idea of making a no-bake, easy cake to celebrate the occasion. It's also the perfect dessert for Australia Day which is coming up in just a few days. We may need to make it again! 


Introducing THE TIM TAMINGTON CAKE!
I'm not positive, but I believe that we may have been the inventors of this strictly Aussie cake. It's inclusive of the two major Australian sweets: Tim Tams and Lamingtons. If you're unsure of what these are, let me break it down for you:

Tim Tam: an extra delicious chocolate cookie that is made up with two layers of chocolate cookie which is separated by a layer of chocolate cream then submerged in chocolate for it's outer covering. You'll have to stay tuned for my post on 9 ways to eat a Tim Tam! 

Lamington: these babies are squares of sponge cake that are covered in chocolate and coconut shreds. I've never actually tried them before cutting into this cake but they are great although I'd prefer a home made rendition to the packaged kind. 

Now that you know the ingredients, you'll need less than five minutes to put this chocolate monster together. Of course, you'll need to make or buy some chocolate frosting. As we are backpacking, we unfortunately needed to opt for the store bought. 
We started with a layer of Lamingtons in a 2x3 formation. Cover those with chocolate frosting to hold you next layer of Tim Tams in place. We did an alternating pattern of the Tim Tams to hold the cake together. After that, you guessed it, another layer of chocolate frosting. Go ahead and stick the other six Lamingtons on top and smear them with the last of your chocolate frosting. For the top, we crushed the remaining Tim Tams and scattered them across the top. BAM! There you have it: The Tim Tamington Cake! 
We added the Australian Flags that came with the Lamingtons to add a little extra Aussie flare and to make it that much more appropriate for Australia Day! 

I apologize to all my North America friends as these ingredients may be a challenge to find. However, if you do find them, go ahead and smash this cake together - you won't regret it!   
Follow my blog with Bloglovin        
Pin It

Tuesday, July 16, 2013

Rider Pride Wedding

Oh how I love weddings! And I love creating wedding cakes and cupcakes! That is why I was thrilled when Rebecca and Murray asked me to make their wedding cupcakes and cake! Something you should know about the bride and groom is that they are HUGE Rider fans! I don't think I've ever met bigger fans that these guys! It was to no surprise that their wedding had a Ride Pride glow to it. They decided that the bride would get to choose the design and flavour of half the cupcakes and the groom the other half. Together they decided that they wanted a cake for them and their bridal party to share. 


Of course, being the Rider fans that they are, the groom chose chocolate cupcakes decorated with green grass and a chocolate almond football! The bride chose to go with a vanilla cupcake frosted with a swirl and embellished with a flower. The colours came together nicely when they were all set up. 


If you're a perfectionist like I am, you've probably already noticed that some of the liners are solid black and others are polka dotted. Believe me, I cringe at the fact that the liners didn't all match, but that is something I've just got to deal with living in a city with very limited choices when it comes to baking and cake decorating. I do all my Wedding Cake shopping either in trips to Calgary or online. I got the black cupcake liners online and as I was putting the last batch in, what do you know, I run out of black liners! The supplier shorted me TWELVE liners. I had to run to Bulk Barn, no black liners. Called Michaels, no black liners. Called Gale's, no black liners!! Can you believe that not a single place in this city carries a solid black cupcake liner - what the heck! Polka dots was my closest bet. I'm such a perfectionist that I debated baking everything over again just so the liners would match -- ain't nobody got time for that! 


The cake was Red Velvet iced with buttercream in a scalloped design. The cake topper matched perfectly with the theme as she is wearing a Rider jersey. I told you - big fans! It was so special that they asked me to create the cupcakes and cake for their special day! I had so much fun baking and decorating!

Congratulations Rebecca and Murray! I wish you a lifetime of happiness and Rider Pride together! 
Pin It

Monday, June 10, 2013

Fresh Flower Wedding Cake

I am always so thrilled when a couple asks me to make their wedding cake. I've been lucky enough to please three happy couples so far, with some more coming in the future. 

Kassidy and Michael wanted a tiered white cake with buttercream frosting for their wedding and other than that, they let me take creative control! I was so happy to take this project on because I have never made a tiered wedding cake before and I knew I was up for the challenge! 


I had a whole bunch of fun putting together this wedding cake. I spent a day baking the cakes and another day was spent icing and putting everything together. I was so excited to ice the cake and put my first tiered wedding cake together that I somehow missed baking one of the cakes! I came back to my cake the next day with enough time to ice everything together and realized my mistake. To say the least it was chaos in the kitchen for a while, but everything turned out just fine! 


On the day of the wedding, I attached some BEAUTIFUL fresh flowers that coordinated with everything and that were set aside for the cake. I played around with them for a while until I got them to sit just the way I liked them. I've got to say, the fresh flowers were the PERFECT finishing touch to the cake!


The beautiful bride and her groom were thrilled with the cake and how it all came together. By the sounds of it, they were eating it all through the next day! 

*All the cake pictures were done by Oriana Skiba Photography & Design. Make sure to go check out her Facebook page and throw in a like.

KAITS 


Pin It

Wednesday, June 5, 2013

Reese's Peanut Butter Squares

I'll just go ahead and tell you what my favourite thing to do is. You may guess any of my hobbies - baking, crafting or creating - and while I do really enjoy those things, my favourite thing to do is make people happy! I realize that this makes me sounds like a 'people pleaser' but in fact, I am far from it. I enjoy making people happy because it makes me happy (okay, now I sound a little selfish.)

Regardless, what better way is there to make people happy than through gifts of food? That is, delicious dessert foods to be more specific. 


I stumbled across this delicious recipe one day and decided I HAD to make it for my co-workers! It's and simple recipe with very few ingredients and the end result is to die for! If you are a Reese's Pieces lover, you will LOVE these! Head on over to Let's Dish for a recipe you can't resist!  


These babies are super quick to put together to take to a BBQ or Dinner Party when your short on time. No one will know that it took you under 5 minutes to throw together the highlight of the night!!

ENJOY!
Kaits
Pin It

Thursday, March 28, 2013

Guinness Goodness

If you were to ask me what my favourite type of beer is, it's likely that I would mention any kind of stout. Although I am a fan of many beers, especially craft beers, my favourite of all is something dark, creamy, and filled with dark roasted flavours. Guinness has all the essentials for my favourite type of beer, which is why I love it. Its an Irish stout that is loved world wide!

Its nothing new that Guinness is a great beer to cook and bake with, and by no means did I come up with this recipe. I thought I would make these delicious Guinness cupcakes topped with Bailey's Irish Cream frosting for St. Patrick's Day! Cooking and baking with Guinness shouldn't just be limited to an Irish holiday, so I have big plans of doing more baking with Guinness in the near future. It offers wonderful flavours and pairs well alongside anything chocolatey! 

When I found this recipe, I was all over it - I knew I had to make them! It was a quick and easy recipe to whip together and the house smelled like delicious Guinness as I was baking. The cupcake itself turned out really moist, light and flavourful. I whipped up a batch of chocolate ganche and filled the inside of the cupcake to offer and rich chocolate experience. I topped these guys with a frosting made up of Bailey's Irish Cream, to keep the St. Patricks Day theme alive!

 If you would like to give this recipe a try, Click Here, and follow Sharyn at Living Artfully! 

Kaits 
Pin It

Monday, December 24, 2012

Amaretto Sugar Cookies

Merry Christmas!

After my internship ended, I found it to be the perfect time to do some more baking. I wanted to make something for my co-workers to enjoy as I do baking for them each Christmas! 

This year, I decided to do Sugar Cookies, but not just any Sugar Cookie, Amaretto Sugar Cookies. I know I've mentioned before that I LOVE Sugarbelles Sugar Cookie recipe! It ALWAYS turns out wonderful! I read a  wonderful tip a while ago in Buddy Valastro's book "Baking with the Cake Boss" which I always follow. It's called carryover cooking which is leaving foods continue to cook on their own by the heat of the pan after they are removed from the oven. I especially love this tip for cookies as this way you can get the ultimate, lightly browned, soft cookies. 

I followed Sugarbelle's Basic Sugar Cookie Recipe and instead of adding flavouring, I added 2 teaspoons of Amaretto. I rolled the dough out and cut snowflakes with the cookie cutter I got from Michaels. I like this cookie cutter because it is BIG! Nobody wants to eat small sugar cookies! Also, the bigger the cookies are, I find them easier to decorate! 

Just like I said above, I pulled the cookies out of the oven after about 5 minutes once I could see that they were turning a very light brown on the base. I left them to continue baking from their own heat on the pan for another 3 - 4 minutes. They turned out perfectly!

After the cookies cooled, I began to decorate. This time I also used Sugarbelle's Royal Icing Recipe . I like this recipe because it is simple and turns out perfectly. 

To decorate the cookies, I prefer the outline and flood technique. You can use the same icing recipe and just adjust the consistency of that icing to make it do different things.

First, you pipe your cookies with an outline to create a "dam" so that when you go to flood your cookies, the icing won't run off the edges. You want the consistency of this icing to be similar to the consistency of toothpaste, so quite thick. When you pipe the icing it should be able to pipe easily and should not break..if that makes sense! 
Next, wait until the icing is dried. (I waited about half hour, in that time I cleaned up my pans and some of the kitchen.) Then you will need to change the consistency of your icing, you want it to be runny. To do this you just need to add water. I just add a little water at a time and blend it up until it gets to the consistency I am looking for. Then I put it in a piping bag and flood my cookies. It will run to fill your cookie until it reaches the outline. I had to use a toothpick to move it in to the tiny corners. When it's dried it will be so nice and smooth! 
Once your flooded cookies are dried (again, about half hour to an hour should be sufficient) it will be time to decorate any way you like. I needed to adjust the consistency of my icing back to a regular piping consistency. I did this by adding some more icing sugar and blending it up. I added Wilton's gel food colouring, but I added too much! (HA HA) I was going for a light blue but I accidentally dropped a big blob in! Oops. Oh Well!

Now, it is up to you to decorate your cookies any which way you'd like! Have fun! 


Kaits :)
Pin It

LinkWithin

Related Posts Plugin for WordPress, Blogger...